
Only follow these instructions if you were linked directly to this article directly from the InstantEncore Control Panel. This article is only relevant if if your app was originally published using InstantEncore's Apple Developer Account (prior to 2018), and then you created your own Apple Developer Account in order add In App Donations to your app.
If you have questions please ask us.
Preparation
- Log into the InstantEncore Control Panel.
- From the menu on the side, select Mobile > Developer Accounts. Scroll down to the Firebase Settings.
- At the top of this section please note the iOS Bundle ID. You will need this to complete the steps below.
Add a New Firebase iOS App
- In another browser window or tab, go to https://console.firebase.google.com/ and sign in with your Google account that you used to setup your Firebase account previously. If you have not created a Firebase account previously, please contact InstantEncore for further help.
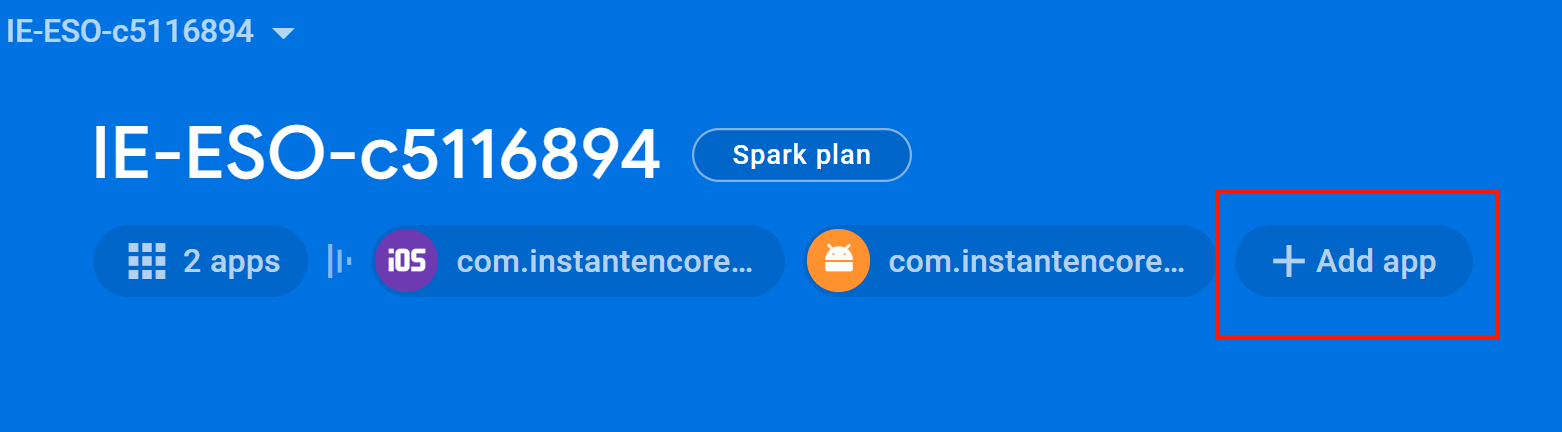
- Click the "+ Add app" button.
- Select the iOS icon.
- Enter the iOS bundle ID from above.
- Leave App nickname and App Store ID empty.
- Click "Register app".
- Click "Download GoogleService-Info.plist" button. Save file on your computer. You will need it later.
- Click "Next".
- Click "Next" (you do not need to Add the Firebase SDK).
- Click "Next" (you do not need to Add initialization code).
- Click "Skip this step" when it tries to verify installation.
Save Values in Control Panel
- Go back to the Firebase Settings section of the InstantEncore Control Panel.
- Click file upload button for googleService-Info.plist and choose the file you downloaded earlier. The content of the file should appear in the text box.
- Click Update. (You should not update the "google-services.json" or "Server Key" fields)
- InstantEncore will be notified automatically and will reach out to you regarding the status of your app. You can continue to manage your app as normal.